How to make a software tutorial video
- tutorials
- documentation
- screen recording
Cover one task per video, record it in a single take and pause between steps rather than stopping, then let automatic silence trimming remove the dead air before anyone watches. Word level captions make the steps skimmable, and on KlipKap Pro they are transcribed on your own machine, so nothing about the software you are documenting is uploaded anywhere.
01One task per video
The most common tutorial mistake is scope. A video called Getting Started that covers installation, configuration and first use is three videos, and someone who only needs the third one will not sit through the first two.
One task per video also fixes maintenance. When the settings screen changes, you re-record four minutes rather than twenty five, and the other videos stay accurate.
- Title the video with the task, in the words someone would search for
- State the starting point in the first ten seconds, so nobody is lost by step two
- Show the result before the steps when the result is not obvious
- Link to the prerequisite rather than covering it again
02Write the steps before you record
A tutorial script is not a word for word narration. It is the click path: every screen you will touch, in order, with the values you will type. Writing it down is what stops the recording where you realise at step seven that step three was wrong.
Read it once with the software in front of you. The gap between what the documentation says and what the interface actually does is usually found here rather than in the recording.
03Record in one take and pause between steps
Recording is controlled from the tray once the window hides itself, and paused segments are joined back together automatically, so there is no edit to make where the pause was. That changes how you record: instead of stopping when you need to think, read ahead or wait for something to load, you pause and resume.
The result is one continuous take with the waiting removed, which is far easier to produce than assembling four separate clips and matching their audio levels.
04Cut the dead air automatically
Automatic silence trimming detects and removes silent stretches from an audio track. On a long unscripted take this is the single biggest saving, both in editing time and in runtime: an eleven minute recording that becomes seven minutes without losing a word is normal.
Silence trimming and the six voice processing controls are Pro tier features. The free tier records and edits without them, which is enough to check the workflow on your own material first.
05Zoom where the click is
Automatic zoom follows the cursor, and for a tutorial that is usually correct because the cursor is where the instruction is. Intensity runs from 1.0x to 4.0x and the smoothing control decides whether the frame tracks instantly or lags behind the pointer.
The exception is any step where you are describing something the pointer is not on: a validation message, a value in a table, a state that changed elsewhere on screen. Those zooms can each be switched off cursor-following and pointed at a fixed spot instead.
06Add word level captions
Captions on a tutorial are not only an accessibility measure, they are how people skim. Someone who already knows the first half scrubs until the words change, and word level timing is what makes that work.
Transcription runs on your machine with a choice of model sizes, so no audio is uploaded and there is no API key or per-minute credit. Progressive word highlight dims the words you have not said yet at an opacity you set. Transcription is a Pro tier feature.
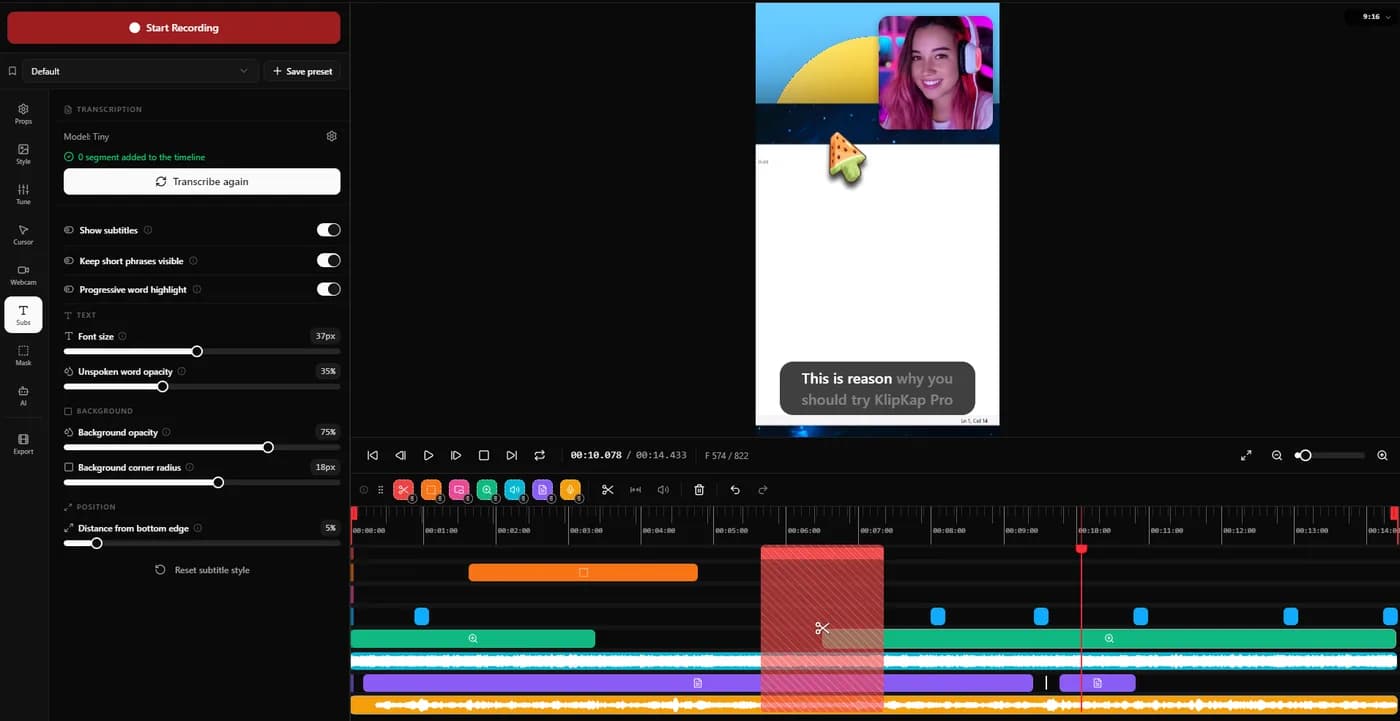
07Keep the pointer legible and out of the way
Twelve pointer styles with adjustable size and shadow, plus a tilt option that leans the pointer into its direction of travel. For tutorials the useful setting is hide-when-idle: the pointer disappears whenever it stops moving, so it is not sitting over the field you are asking someone to read.
Because the cursor is redrawn rather than captured, all of this is decided after the recording exists. You do not have to think about pointer size while you are trying to remember step nine.
08Export once, at the size the docs need
For an embed in documentation, 1080p at 30 fps is usually right and keeps the file small enough to load beside the page. Interfaces with dense small text are the case for 4K, where the Pro tier exports at 24, 30, 60 or 120 fps with GPU accelerated rendering.
GIF export deserves a mention for tutorials specifically. A single step that takes four seconds to show is often better as a loop in the documentation than as a video someone has to start.
Quick tips
- 01Close the tab you use for personal email before you start. It is the thing you will notice in the export.
- 02Type slowly and deliberately. Real typing speed is unreadable at any zoom level.
- 03Say the name of the button before you click it, not after. People follow along a beat behind you.
- 04Re-record a step rather than apologising for it. A tutorial with an apology in it gets replaced sooner.
- 05Keep the project file. When the interface changes, one section usually needs re-recording rather than the whole video.
Frequently asked questions
- How long should a software tutorial be?
- As long as one task takes, which is usually between two and six minutes. If a tutorial runs past ten it is normally covering more than one task, and splitting it makes both halves easier to find and easier to keep up to date.
- Do I need to script a tutorial video?
- Script the click path, not the narration. Writing down every screen and every value you will type is what prevents the take where a wrong step at the start invalidates everything after it. Reading a narration word for word usually sounds worse than talking through a path you know.
- Is the transcription for captions private?
- In KlipKap Pro it runs on your own machine with a choice of model sizes, so no audio leaves the computer and there is no API key or per-minute credit. That matters when the tutorial covers internal software. Transcription is a Pro tier feature.
- How do I remove the pauses from a long recording?
- Automatic silence trimming detects silent stretches and removes them from the audio track, which on an unscripted take of ten minutes or more typically removes a third of the runtime. It is a Pro tier feature.
More ways people use KlipKap Pro
This guide is written by the team behind KlipKap Pro, a screen recorder and video editor for Windows 10 and 11 and macOS 13 or later. There is a permanent free tier at 720p if you want to try the workflow described here before paying for anything.